Getting started with swagger using .NET 5
In this blog, I am going to explain how to create a simple web API using .net 5 and swagger UI.


Integrating a new API into your application can be tricky and a little difficult. Swagger allows you as a developer to describe the structure of your Rest APIs so they can be more readable. Swagger is behind some of the most well-known, and widely used tools for implementing the OpenAPI specification.
With .NET 5 swagger is built-in when creating a new API project, you can reference back to it as you code your API.
Getting started
To get started, install visual studio 2019(enable .net core support) and also the latest version of the .NET 5 SDK.
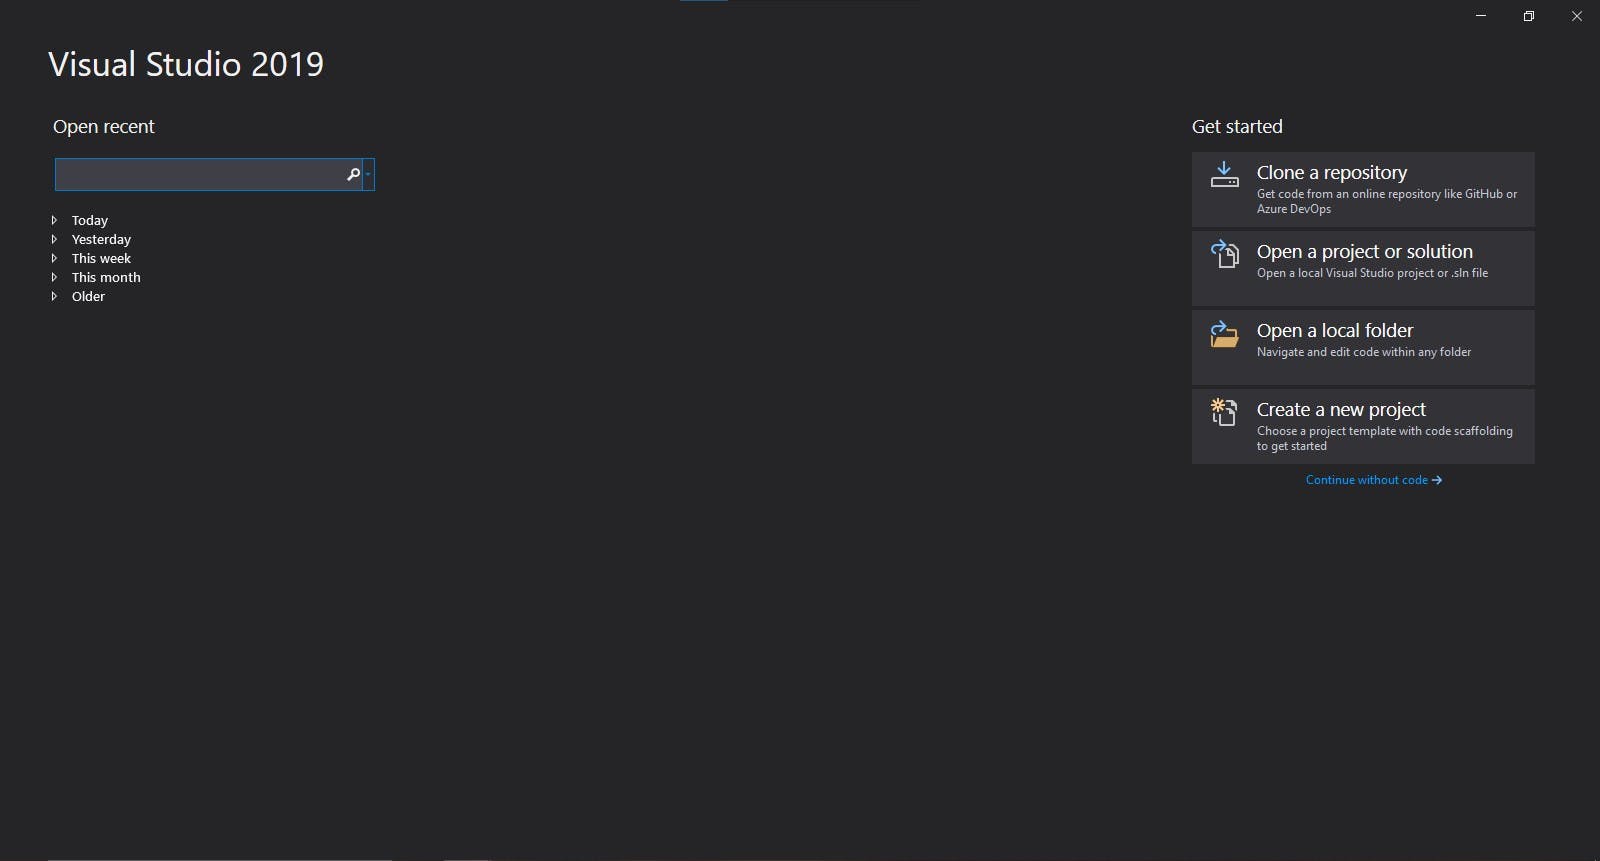
Starting with a brand new project template, we don't need to install any packages, Microsoft has it covered for us. Open Visual Studio and select Create a new project.
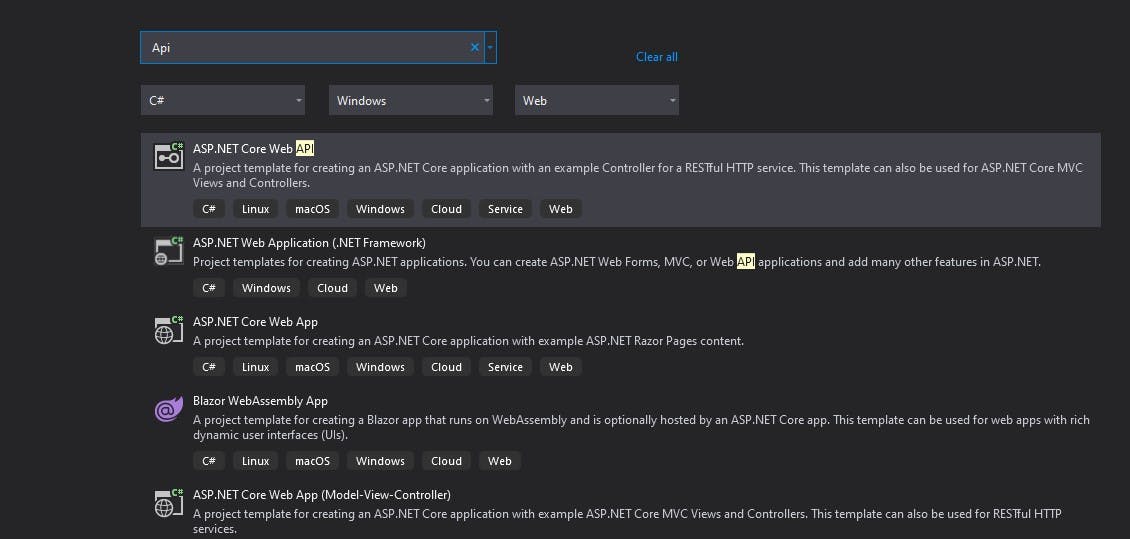
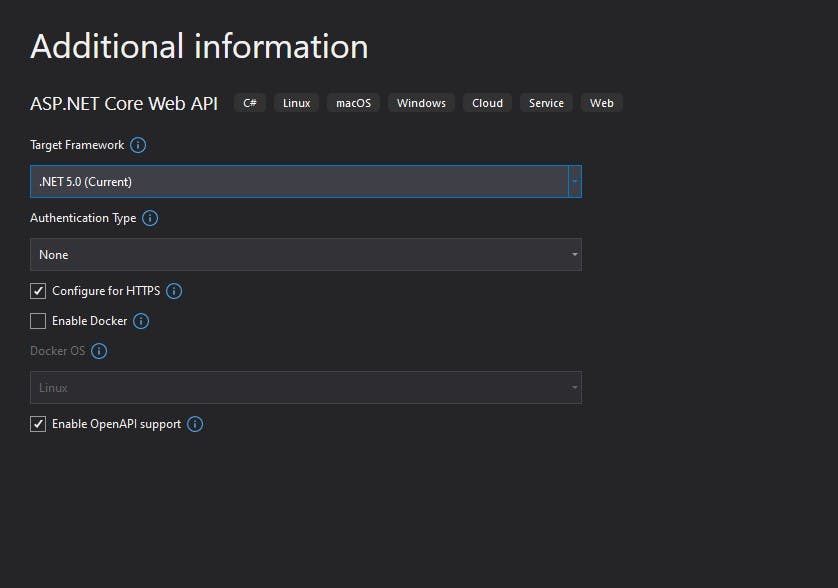
I am using C# so from the Installed Templates, choose C# as the language and under application select Web. In the list of project templates, choose ASP.NET Core Web API.
Name the project "TodoTask.API'", I prefer naming the solution differently as it organizes things a lot cleaner just in case you want to add new projects to the solution later.
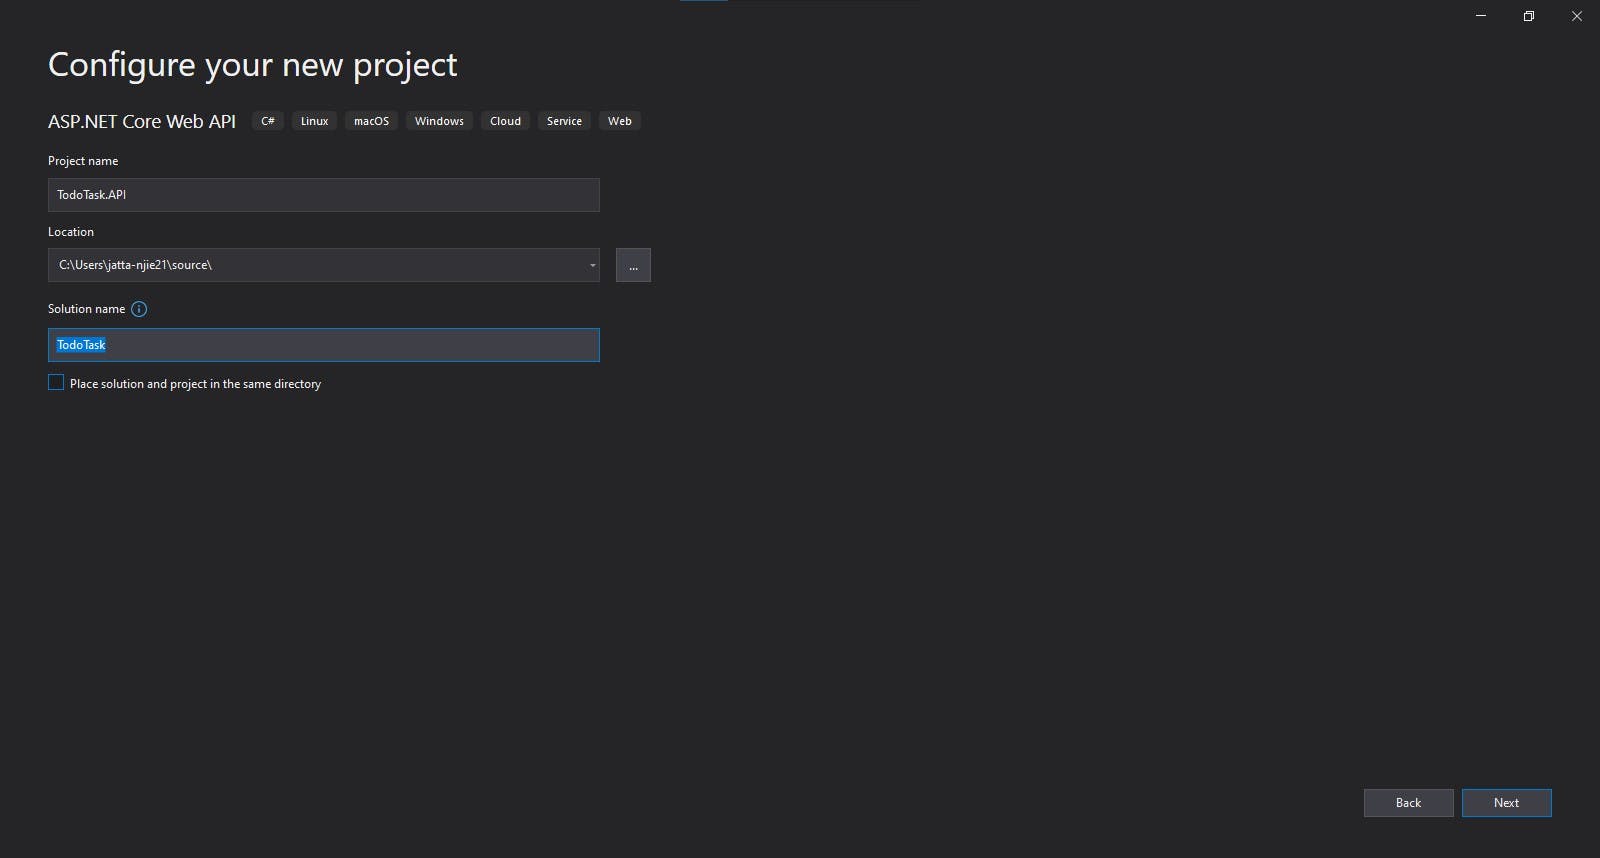
The next step is selecting the target framework by default it selects .NET 5.0(current) if you are running the latest version of visual studio 2019.
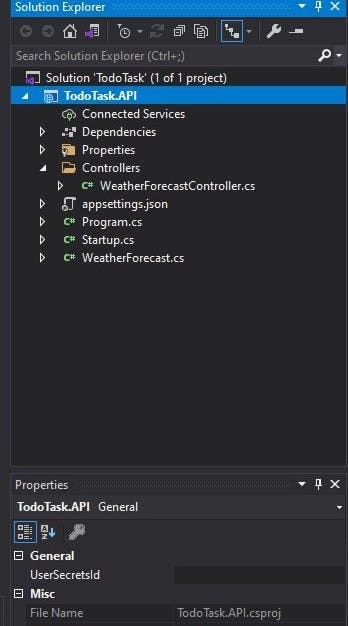
A default structure for the .Net Core Web API project is created, magic. With .Net 5 a lot of the heavy lifting is done by Microsoft, all you need to do is add your business logic and call the methods from a controller, pretty amazing right?. Below is how the default template looks like.
Adding a model class
The model class represents the data. Swagger will automatically serialize the data to JSON or XML format, another reason why swagger is the tool to use.
To add a new model class in the Solution Explorer, right-click on the solution and select a class item to add.
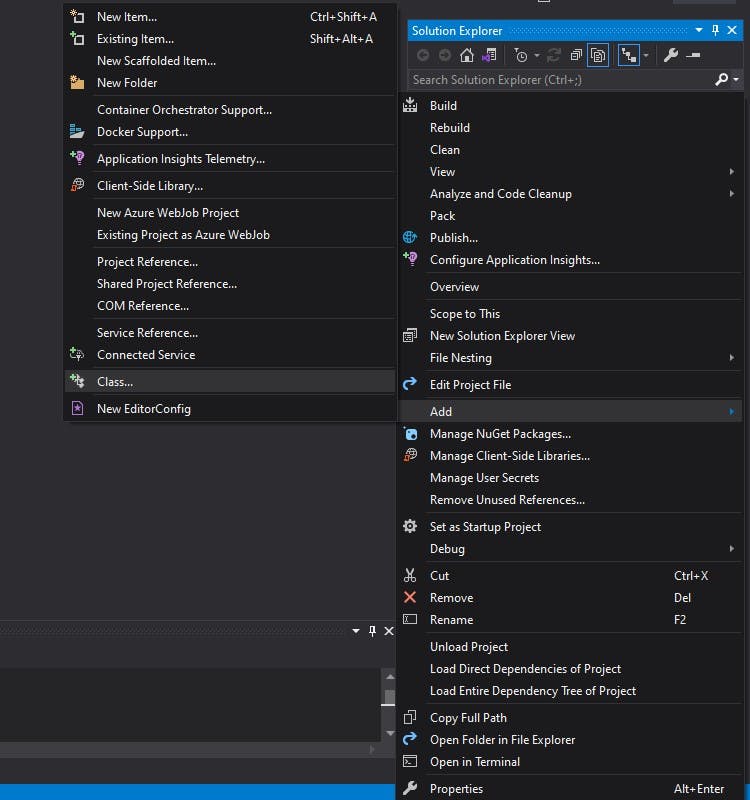
Then select Add New Item, select a Visual C# Class and name the class “TodoTask.cs” and then a new model class is added. Lets add in the properties for our task todo model class.
namespace TodoTask.API
{
    public class TaskTodo
    {
        public int ID { get; set; }
        public string TaskName { get; set; }
        public string Descripion { get; set; }
    }
}
Adding a new controller
Web API controller is a class that can be created under the Controllers folder or any other folder under your project's root folder. The name of a controller class must end with "Controller". This class will be responsible for handling all the requests from a particular model.
In the solution explorer, right-click on the Controllers folder and select Add a new controller.
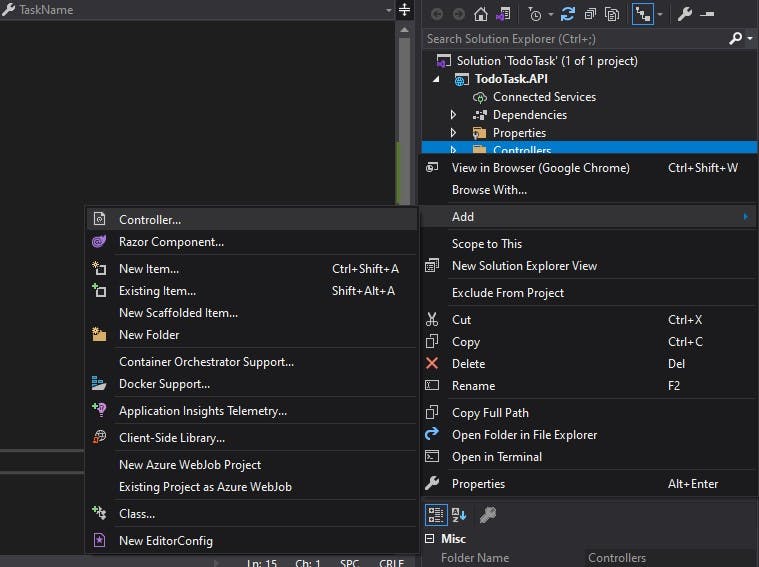
Select from the dialog the Web API Controller - Empty template, name the controller "TodoTaskController.cs".
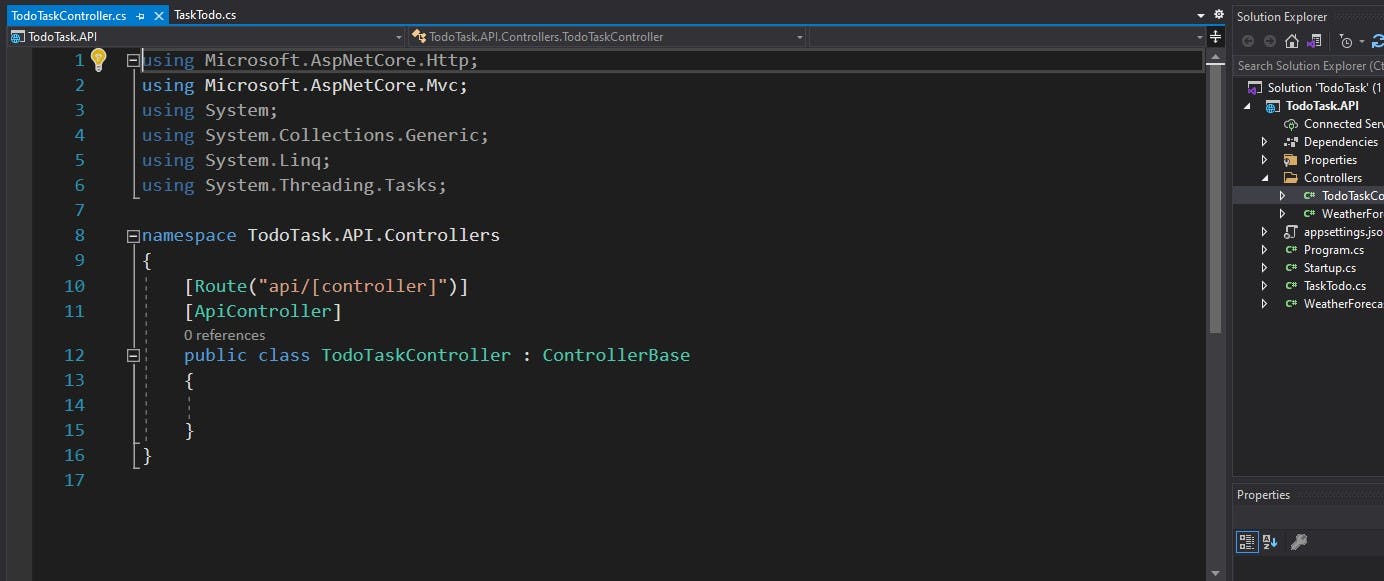
Add three methods in the controller “GetAllTodoTasks”, "CreateNewTodoTask" and finally "GetTodoTaskByID". Since we are not working with a database in this project let's use mock data to create a few tasks.
using Microsoft.AspNetCore.Mvc;
using System.Collections.Generic;
using System.Linq;

namespace TodoTask.API.Controllers
{
    [Route("api/[controller]")]
    [ApiController]
    public class TodoTaskController : ControllerBase
    {
        List<TodoTask> Tasks = new();
        public TodoTaskController()
        {
            Tasks = new List<TodoTask>()
            {
                new TodoTask{ID = 1, TaskName = "Shopping",
Descripion = "Buy a new sneakers."},
                new TodoTask{ID = 2, TaskName = "Workout",
Descripion = "Finish weekly reps."}
            };
        }

        // GET: api/values
        [HttpGet]
        [Route("GetAllTodoTasks")]
        public IActionResult GetAllTodoTaskList()
        {
            //return a list of all the tasks
            return Ok(Tasks);
        }

        // POST: api/values
        [HttpPost]
        [Route("CreateNewTodoTask")]
        public IActionResult CreateNewTodoTask(TodoTask todoTask)
        {
            Tasks.Add(todoTask);

            //creates and returns a new task
            return Ok(Tasks);
        }

        // GET: api/values/2
        [HttpGet]
        [Route("GetTodoTaskByID/{ID}")]
        public IActionResult GetTodoTaskByID(int id)
        {
            var search = (from t in Tasks where t.ID == id select t).ToList();

            //returns nothing if the id is not found
            if (search.Count == 0)
            {
                NoContent();
            }

            //returns a specific task based on the id
            return Ok(search);
        }
    }
}
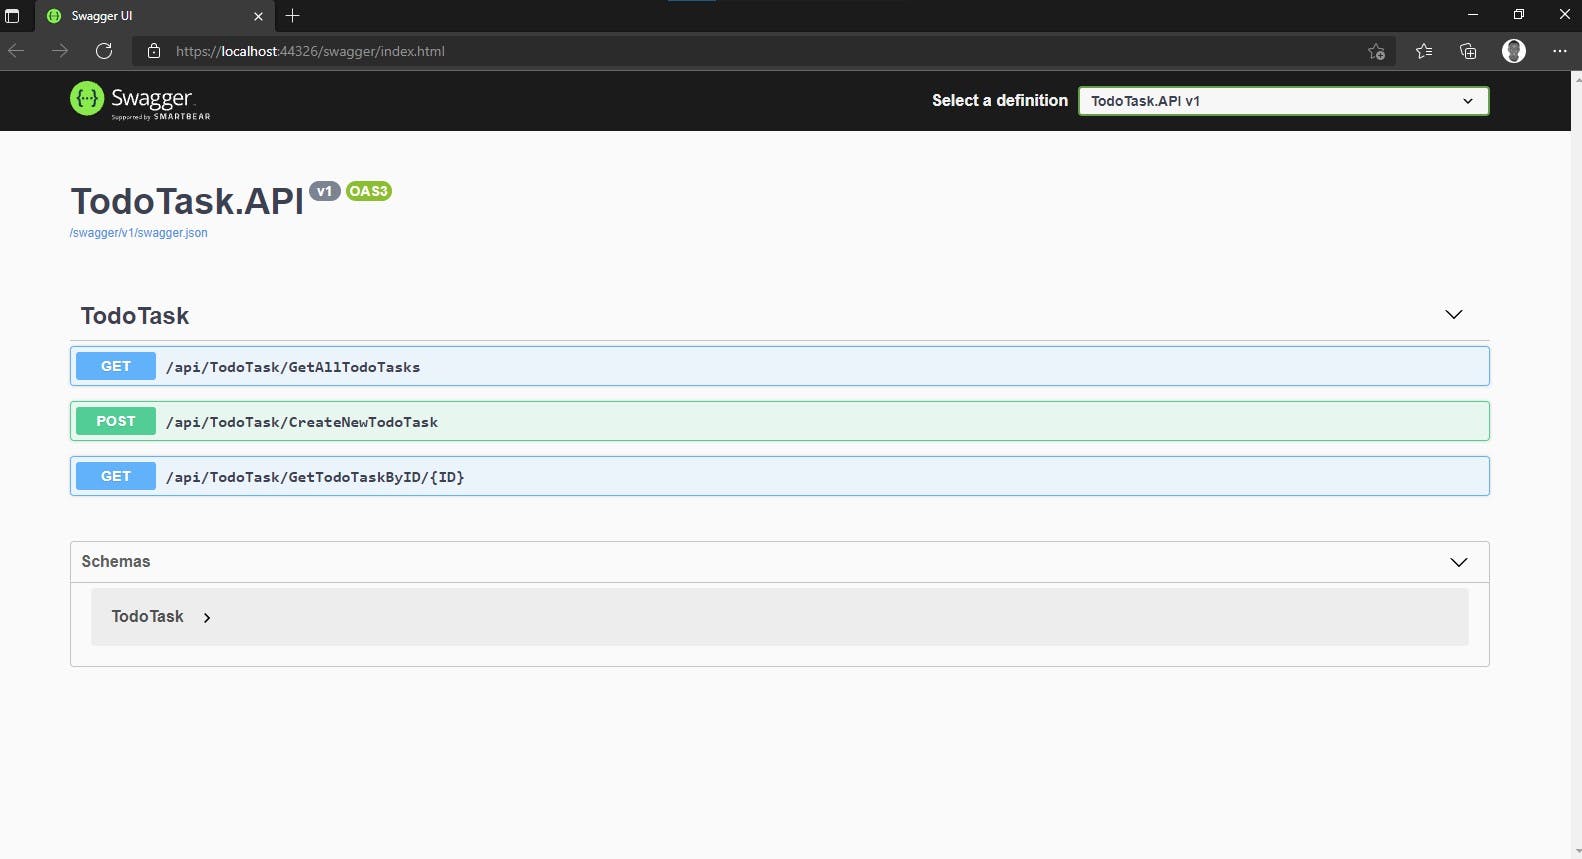
Build & Run
After building the solution and hopefully getting no errors you can now run the project on any browser of your choice using IIS.
Conclusion
In this article, a simple Rest API was created using .Net 5 taking full advantage of the amazing Swagger UI. Swagger can help you design, build, document, and consume REST APIs faster than ever. This project's GitHub source code repository can be found at Source Code.