


Dapper is an open-source ORM for .Net it allows you to map database objects to .Net objects in a simple and efficient way. This tutorial will guide you on how to use Dapper to perform CRUD operations in a .Net6 API with SQL Server. To get started, you can create a new .Net6 API project in Visual Studio and install the Dapper package using NuGet. Then, you can write SQL queries and use Dapper's extension methods to execute them and map the results to .Net objects. You can use Dapper to perform CRUD operations such as creating, reading, updating, and deleting records in a SQL Server database.
Prerequisites
Before we get started, make sure you have the following installed:
.NET6 SDK installed on your machine
Visual Studio or any other IDE (VS Code, Rider, etc.)
SQL Server Management Studio or any other SQL Server tool installed
A basic understanding of C# and SQL Server
Setting up the project
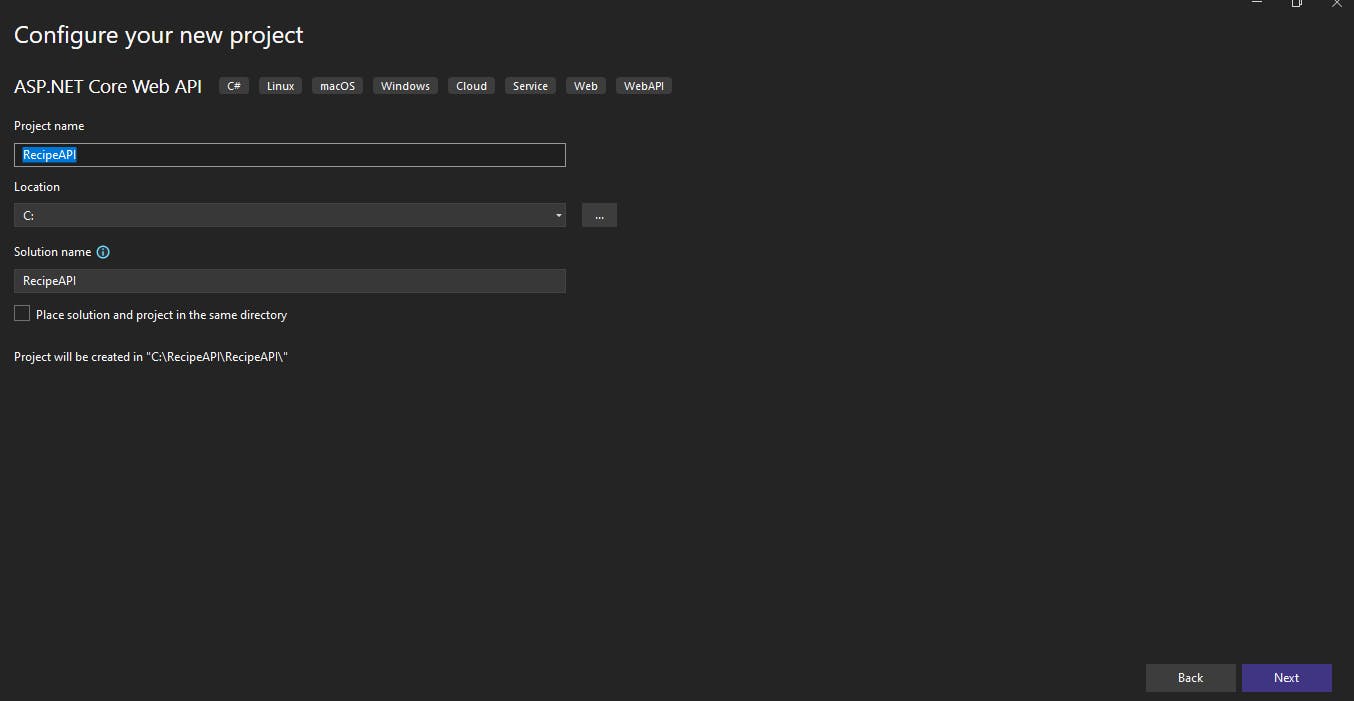
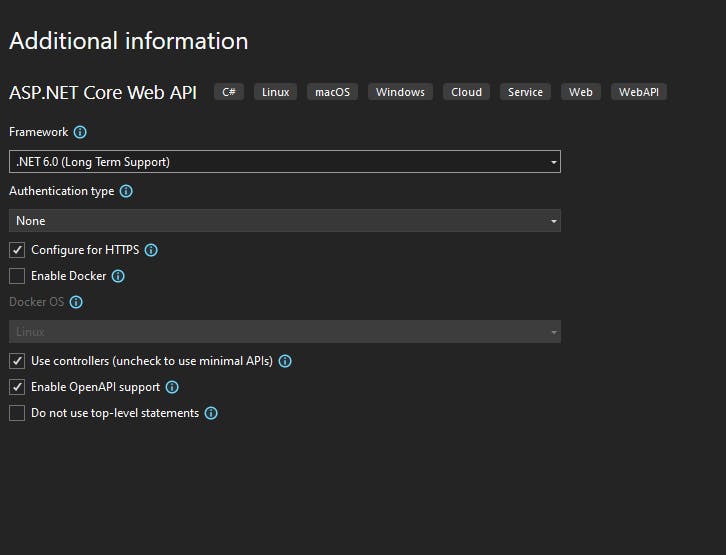
To get started, open Visual Studio and create a new project for .NET 6 API. You have the freedom to choose any desired name and location for the project. For example, I opted to name my project RecipeAPI.
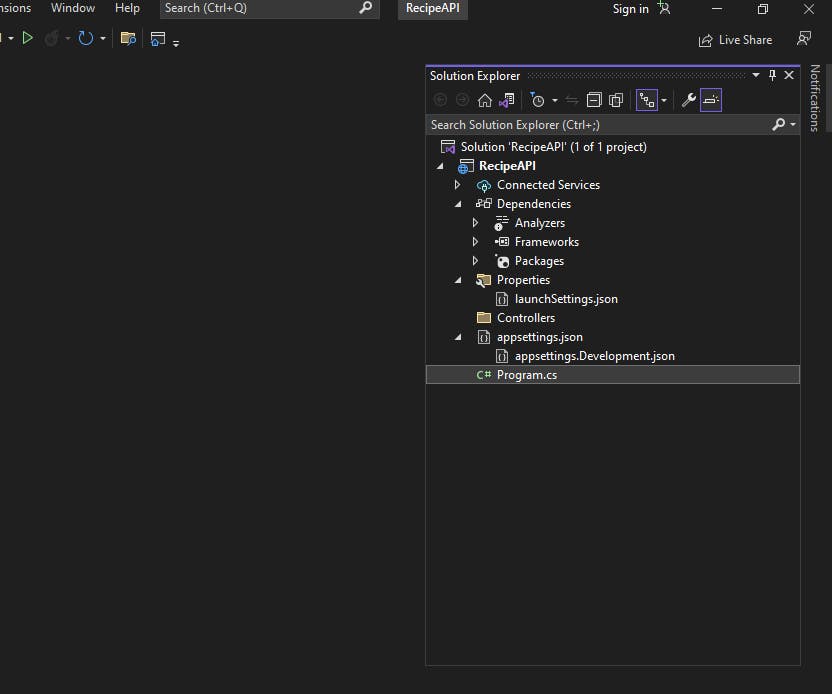
If you have experience with .NET 5, you may observe several modifications when generating a template in .NET 6. Unlike before, when you had both programs.cs and startup.cs files, in .NET 6, you will only have a program.cs class, which makes the organization of the project much neater.
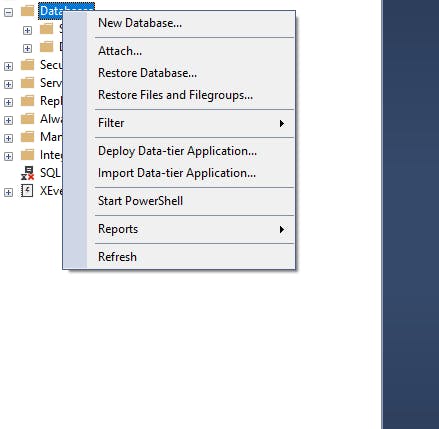
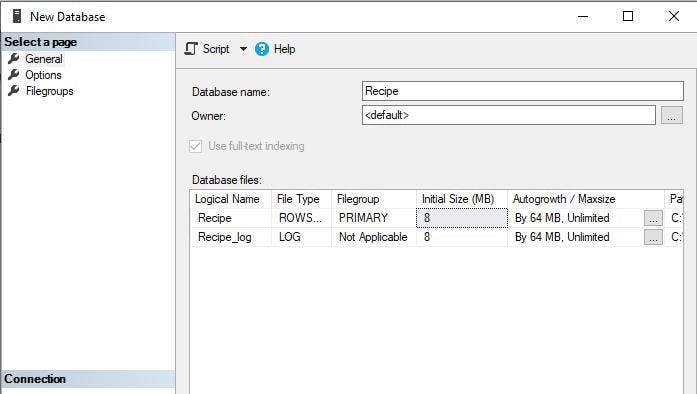
To create a Recipe database in SQL Server Management Studio, the first step is to launch the tool and connect to an instance of SQL Server. Once connected, right-click on the Databases folder and select "New Database".
CREATE TABLE Recipe (
    ID INT IDENTITY(1,1) PRIMARY KEY,
    RecipeName VARCHAR(255),
    RecipeDescription TEXT
);
After creating the Recipe database, you can use the script above to create a Recipe table that has columns for ID, RecipeName, and RecipeDescription.
Adding a connection string to the app settings.json file
A connection string tells the application how to connect to the database. It contains information such as the server name, database name, and credentials. It is conventionally stored in the appsettings.json file.
"ConnectionStrings": {
       "RecipeDB":
             "Server=your_server_name;
             User Id=your_user_id;
             Password=your_password;
             TrustServerCertificate=true"
    }
Creating a model
Before creating a model, install the packages by right-clicking on the project in Solution Explorer and selecting "Manage NuGet Packages". Search for "Dapper" and install the latest version. In the Models folder of your project, create a new class named "Recipe.cs" with the following code:
namespace RecipeAPI.Models
{
    public class Recipe
    {
        public int ID { get; set; }
        public string RecipeName { get; set; }
        public string RecipeDescription { get; set; }
    }
}
Note: This is a simple model that represents a recipe item with an ID, RecipeName, and RecipeDescription properties.
Creating a service
In the Data folder of your project, create a new interface named "IRecipeServices.cs" with the following code:
using RecipeAPI.Models;

namespace RecipeAPI.Services.Interfaces
{
    public interface IRecipeServices
    {
        Task<List<Recipe>> GetAllRecipes();
        Task<Recipe> CreateRecipe(Recipe recipe);
    }
}
Implementing IRecipeServices
IRecipeServices is an interface that defines the contract for Recipe Services. It contains the following methods that are required for performing CRUD operations on a Recipe:
using Microsoft.Data.SqlClient;
using RecipeAPI.Models;
using RecipeAPI.Services.Interfaces;
using System.Data;

namespace RecipeAPI.Services
{
    public class RecipeServices : IRecipeServices
    {
        private readonly IConfiguration _configuration;
        private readonly string _connectionString;

        // Constructor for RecipeServices that takes IConfiguration as a parameter
        public RecipeServices(IConfiguration configuration)
        {
            _configuration     = configuration;
            _connectionString = _configuration.GetConnectionString("RecipeDB");
        }

        // Method for creating a new database connection using the SqlConnection class
        public IDbConnection CreateConnection()
            => new SqlConnection(_connectionString);

        // Method for creating a new recipe and inserting it into the database
        public async Task<Recipe> CreateRecipe(Recipe recipe)
        {
            var connection = CreateConnection();

            // SQL statement to insert a new recipe into the Recipe table
            var insertSql = "INSERT INTO [Recipe].[dbo].[Recipe] " +
                    "(RecipeName, RecipeDescription) " +
                    "VALUES (@RecipeName, @RecipeDescription)";

            // Execute the insert statement and return the newly created recipe
            recipe = await connection.ExecuteScalarAsync<Recipe>(insertSql, recipe);
            return recipe;
        }

        // Method for retrieving all recipes from the database
        public async Task<List<Recipe>> GetAllRecipes()
        {
            var connection  = CreateConnection();

            // SQL statement to retrieve all recipes from the Recipe table
            var allMappings = await connection.QueryAsync<Recipe>("SELECT * FROM [Recipe].[dbo].[Recipe]");

            // Convert the returned mappings to a List of Recipe objects and return the list
            return (List<Recipe>)allMappings;
        }
    }
}
Creating the API Controller Method
The controller implements the IRecipeServices interface using dependency injection in its constructor, allowing the methods to call the corresponding methods in the RecipeServices class, which handles the database operations.
using Microsoft.AspNetCore.Http;
using Microsoft.AspNetCore.Mvc;
using RecipeAPI.Models;
using RecipeAPI.Services.Interfaces;

namespace RecipeAPI.Controllers
{
    [Route("api/[controller]")]
    [ApiController]
    public class RecipeController : ControllerBase
    {
        private readonly IRecipeServices _recipeServices;

        // Dependency injection of IRecipeServices interface
        public RecipeController(IRecipeServices recipeServices)
        {
            _recipeServices = recipeServices;
        }

        // HTTP GET method for getting all recipes
        [HttpGet]
        public async Task<ActionResult<List<Recipe>>> GetAllRecipes()
        {
            try
            {
                // Call the Get All Recipes method from the Recipe Services interface
                var recipes = await _recipeServices.GetAllRecipes();

                // Return the retrieved recipes
                return Ok(recipes);
            }
            catch (Exception error)
            {
                // Return a 500 Internal Server Error with an error message if an exception occurs
                return StatusCode(500, $"An error occurred while getting all recipes: {error.Message}");
            }
        }

        // HTTP POST method for creating a new recipe
        [HttpPost]
        public async Task<ActionResult<Recipe>> CreateRecipe([FromBody] Recipe recipe)
        {
            try
            {
                // Call the Create Recipe method from the Recipe Services interface with the provided recipe object
                var recipeObject = await _recipeServices.CreateRecipe(recipe);

                // Return the created recipe
                return Ok(recipeObject);
            }
            catch (Exception error)
            {
                // Return a 500 Internal Server Error with an error message if an exception occurs
                return StatusCode(500, $"An error occurred while creating recipe: {error.Message}");
            }
        }
    }
}
Adding the services in the program.cs file
Services are registered with the built-in dependency injection (DI) container. The Program.cs file is where you can configure the DI container by registering the required services for the application.
To register a service, you can use the AddScopped method. In this case, we are registering IRecipeServices and RecipeServices. The method creates a new instance of the service for each HTTP request to the API.
This enables us to use the services throughout the application by injecting them into the controllers that depend on them.
# import the classes IRecipeServices and RecipeServices

builder.Services.AddScoped<IRecipeServices, RecipeServices>();

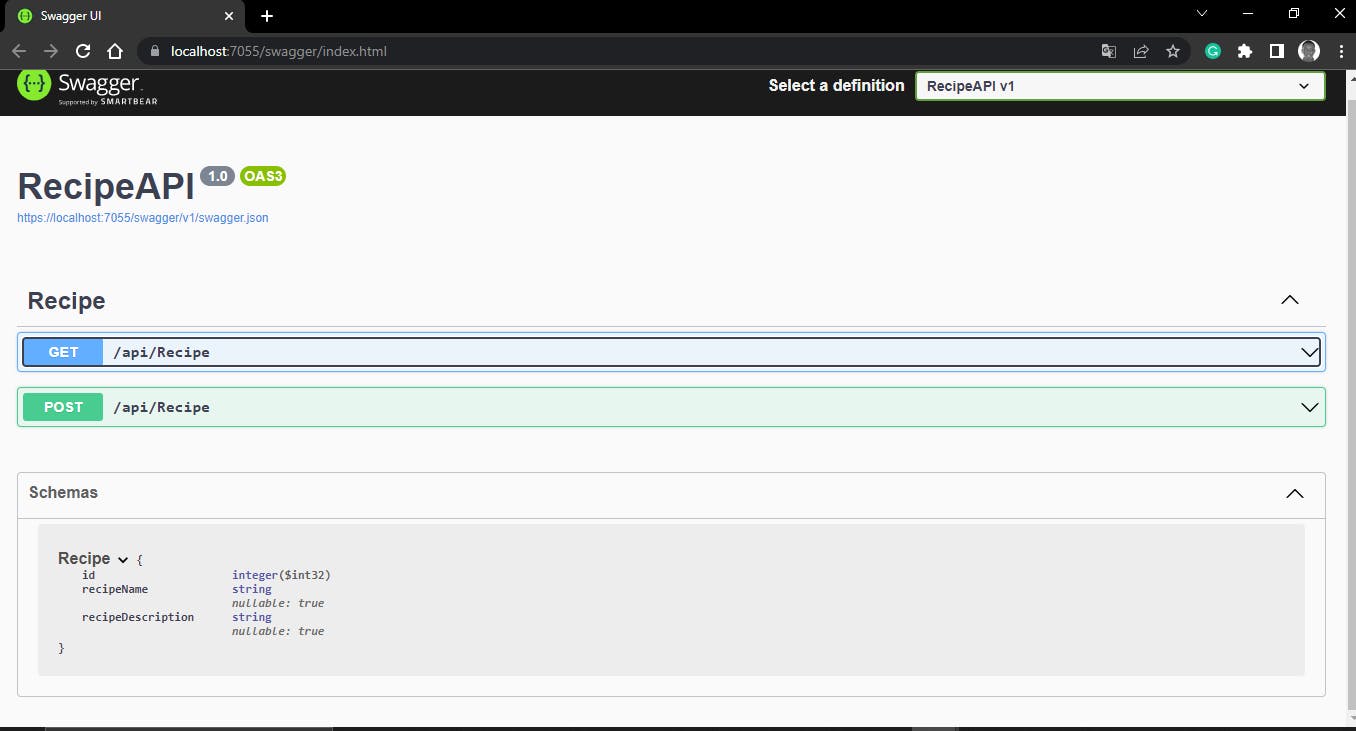
Testing with swagger
Swagger is a tool that helps with designing, documenting, and consuming RESTful API's. With Swagger installed, we can interact with the API and test it without the need for third-party tools like Postman. Swagger even helps document all the models used in the app. Below is how our project can be tested using Swagger.
Conclusion
In conclusion, Dapper is a lightweight and efficient ORM that simplifies database interaction by providing a simple and intuitive API for performing CRUD operations in .Net6 with SQL Server. It is a popular choice for developers looking to build high-performance applications, particularly web applications and APIs. In this tutorial, we created a simple retrieve and create implementation with .Net6 Core Web API. Overall, Dapper is a powerful tool that can help streamline your data access layer and improve performance. If you're looking for an efficient and easy-to-use ORM for your .Net 6 applications, Dapper is definitely worth exploring. Find the source code in the additional resources below.